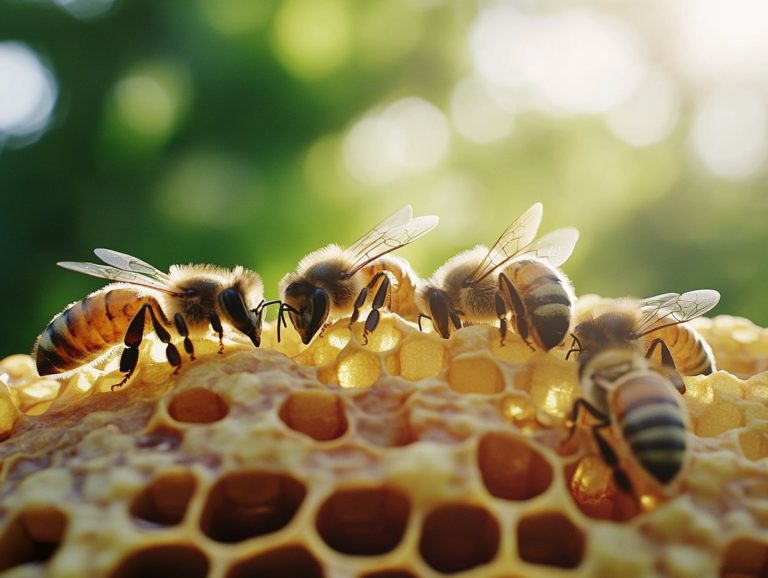
Beginner’s Guide to Hive Inspections
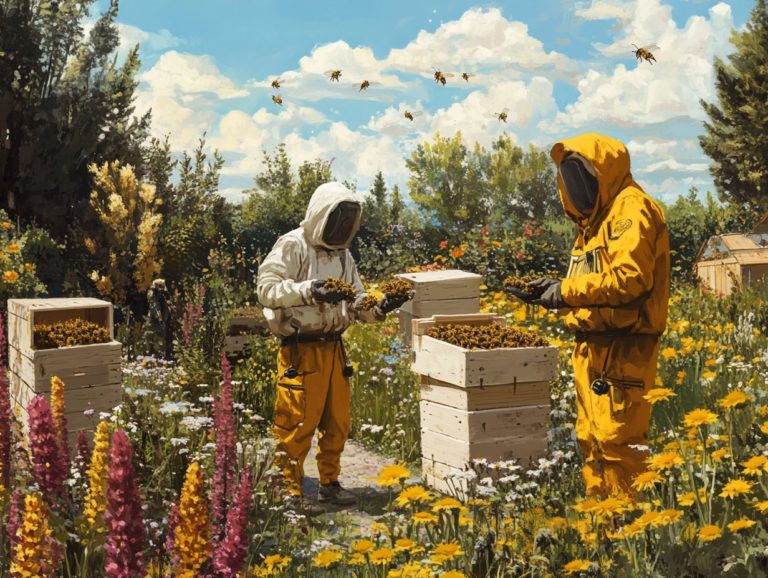
Hive inspections are an essential part of beekeeping that you, as a passionate beekeeper whether you’re just starting or have years of experience should absolutely prioritize.
By grasping the intricacies of hive inspections, you not only ensure the health and productivity of your bees but also cultivate a deeper connection with these remarkable creatures. This guide will illuminate the importance of regular inspections, outline the necessary equipment, and provide you with step-by-step instructions to prepare for and carry out effective checks.
Discover what signs to look for to assess the health of your hive and the proactive measures to take afterward. Together, let s explore the indispensable practices that will keep your hive flourishing in your apiary. Whether you’re a beginner or an expert, these tips will elevate your beekeeping game!
Contents
- Key Takeaways:
- What is Hive Inspection?
- Why is Hive Inspection Important?
- When Should Hive Inspections Be Conducted?
- What Equipment Do You Need for Hive Inspections?
- How to Prepare for a Hive Inspection?
- How to Conduct a Hive Inspection?
- What to Look for During a Hive Inspection?
- What to Do After a Hive Inspection?
- Frequently Asked Questions
Key Takeaways:
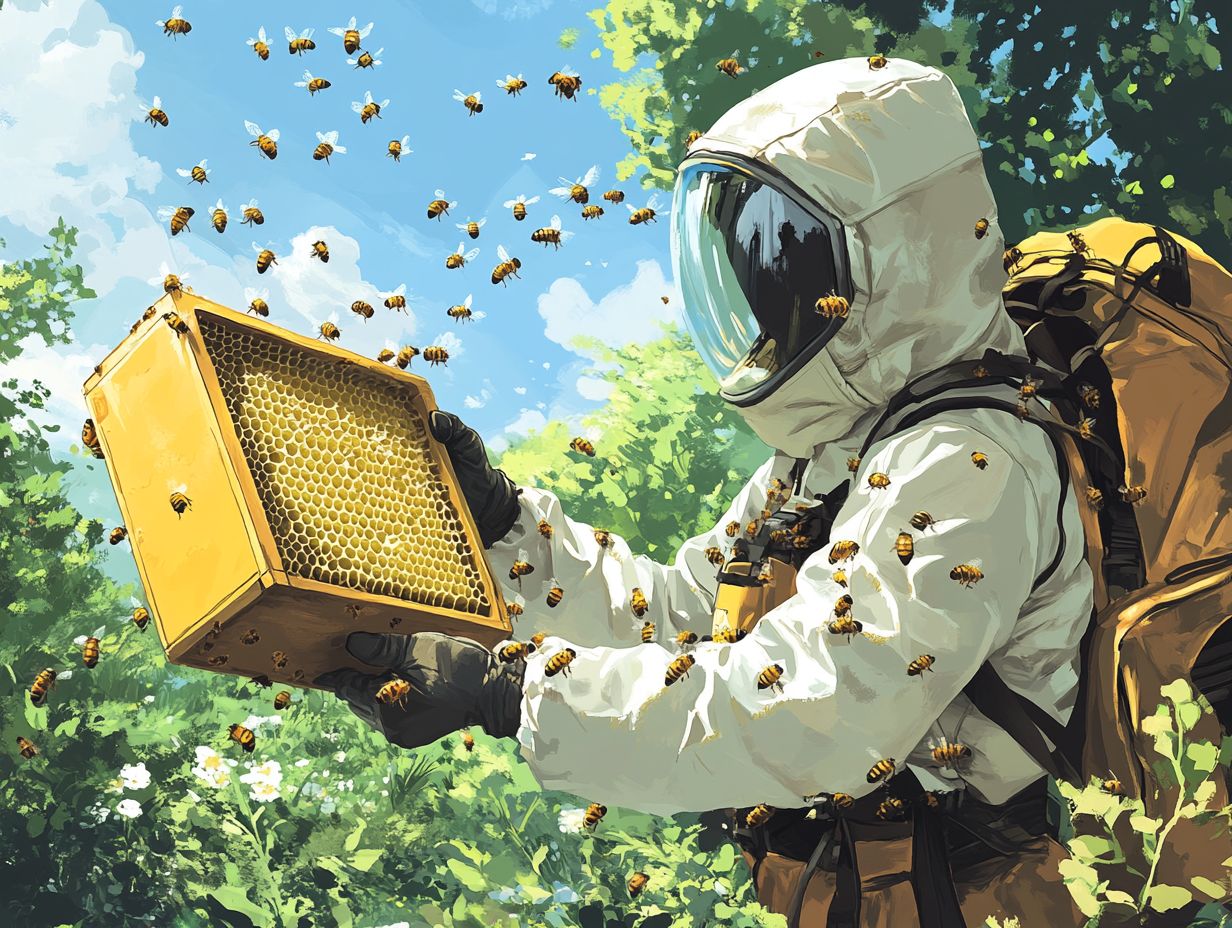
- Regular hive inspections are crucial for bee colony health.
- Inspections help you catch issues early before they worsen.
- Use proper gear and tools for effective inspections.
What is Hive Inspection?
Hive inspection is an essential practice in beekeeping, which means carefully checking your beehive and everything in it. This allows you to evaluate the health, productivity, and overall condition of your colony.
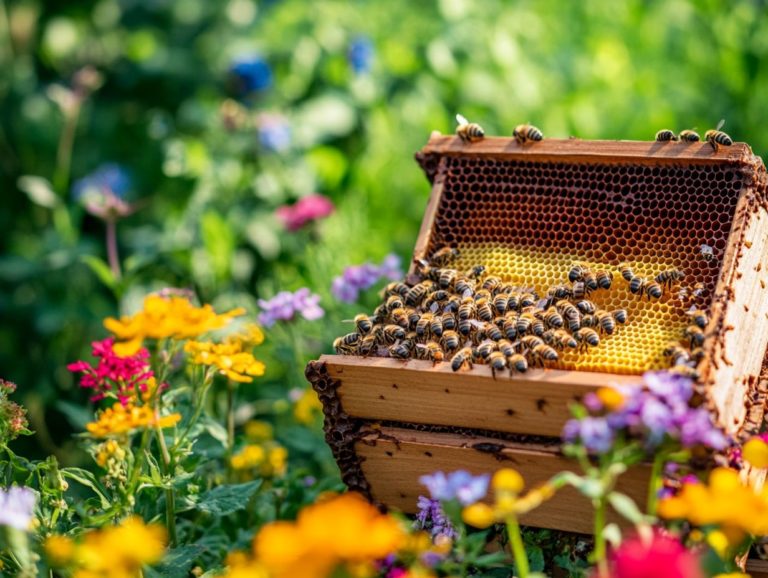
During this process, you ll check for the presence of a queen, assess brood patterns (the way baby bees are arranged in the hive), and keep an eye out for pests or diseases like Varroa mites and American Foulbrood all crucial factors for successful honey production and hive management.
By documenting your observations and maintaining detailed records, you can effectively track the progress of your hives over time, enabling you to respond promptly to any irregularities that may arise.
Why is Hive Inspection Important?
Hive inspections are essential for preserving the health and productivity of your bee colonies. They empower you, as a beekeeper, to spot potential issues such as pests, diseases, and unusual behaviors that could jeopardize your hive s survival and honey production.
Regular inspections allow you to take proactive steps in pest control and hive management, creating an optimal environment for your bees to thrive and produce top-tier honey.
What Are the Benefits of Regular Hive Inspections?
Regular hive inspections bring many benefits as a beekeeper, including improved colony health, increased honey production, and more effective pest management strategies. By consistently evaluating the hive’s structure, brood patterns, and the behavior of both the queen and her bees, you can ensure that your colonies are thriving and primed for producing high-quality honey.
Think of these inspections as your proactive approach to monitoring overall hive health. They allow you to identify potential issues before they balloon into serious problems. For instance, by examining brood patterns, you can catch early signs of disease or inadequate queen performance, enabling timely interventions that can save the colony.
Regular checks can significantly enhance productivity as you assess the availability of nectar and pollen sources, ensuring that your worker bees are fully optimized for foraging tasks. By keeping a vigilant eye on pests like Varroa mites, you can swiftly implement control strategies, leading to a more robust and sustainable hive.
When Should Hive Inspections Be Conducted?
The timing of your hive inspections is essential and should align with the seasons and temperature changes. Seasonal inspections are crucial for maintaining your hive s health and productivity.
This alignment is key to ensuring the well-being of your bees and optimizing the efficiency of your inspection process. While inspections are typically carried out during the warmer months when your bees are most active, it s equally important to monitor your hives during seasonal transitions. Utilizing proper techniques like keeping the hive parts well-maintained can help during these inspections.
This vigilance prepares you to tackle challenges like pests or temperature fluctuations that could impact the health and productivity of your hives.
What Equipment Do You Need for Hive Inspections?
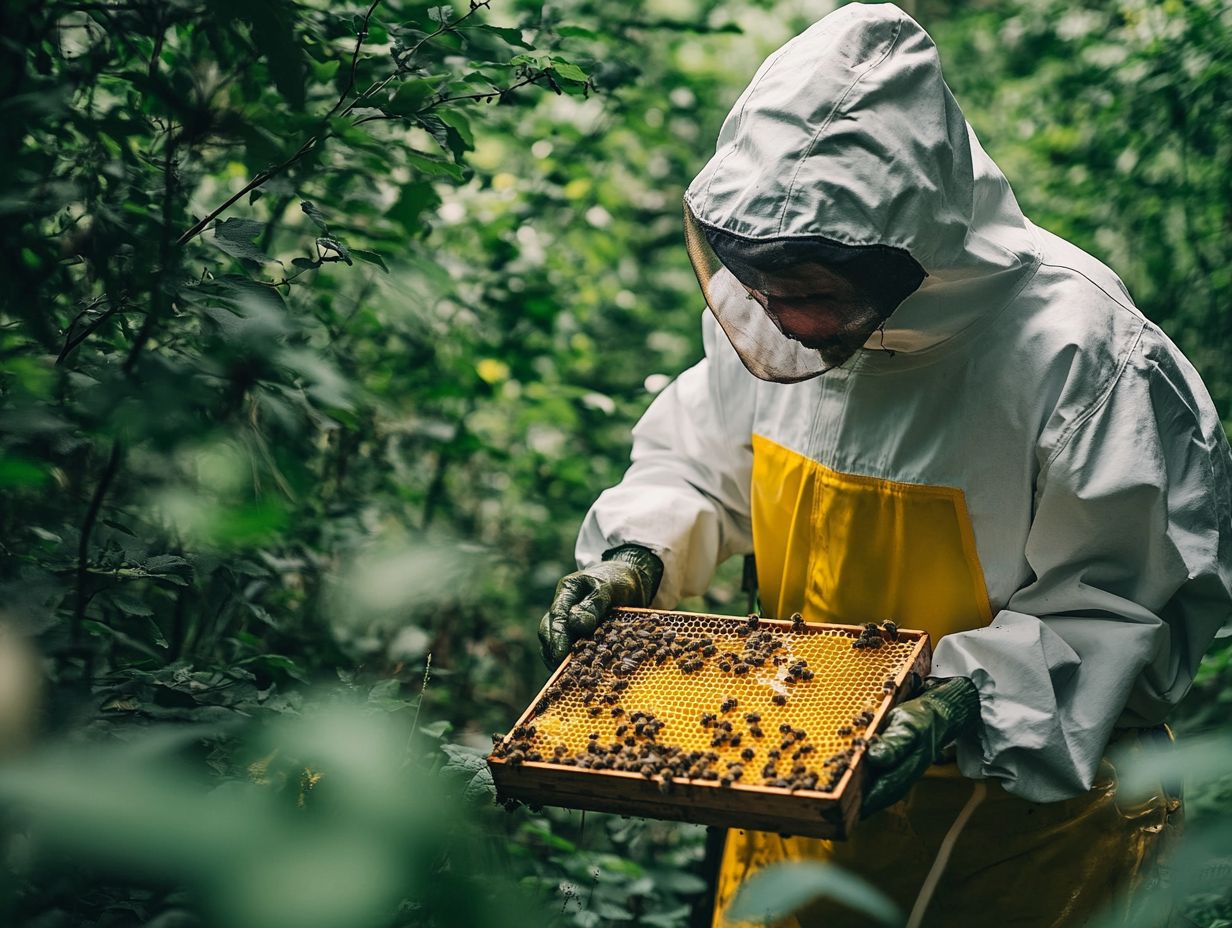
To conduct effective hive inspections, you’ll need essential equipment that elevates both your safety and the precision of your observations. Key tools in your arsenal should include:
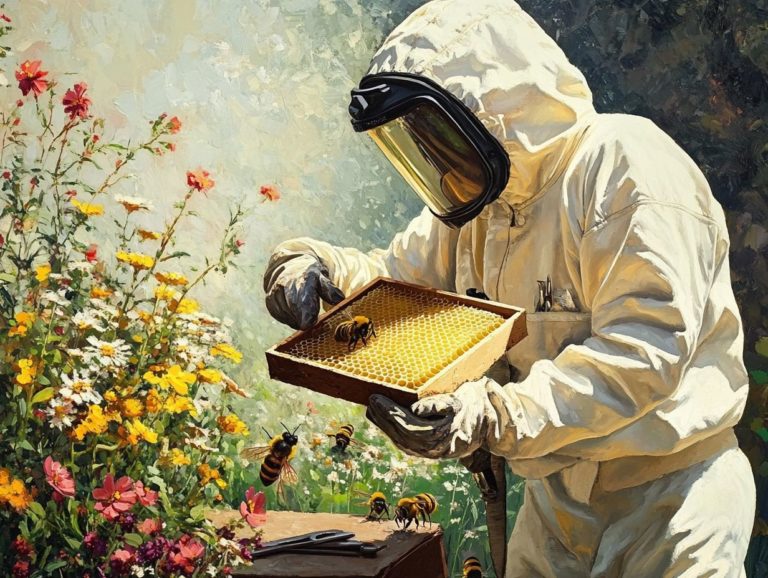
- A hive tool for easily manipulating frames and examining cells,
- A smoker to soothe any agitated bees during your inspections,
- Protective gear to shield yourself from potential stings, ensuring your safety during the inspection.
Each of these elements plays a crucial role in ensuring a successful and efficient inspection process, allowing you to engage with your bees confidently.
How to Prepare for a Hive Inspection?
Preparation is key to a successful hive inspection. Gather the essential tools, like the hive tool and smoker, and establish a systematic routine that guarantees both thoroughness and efficiency. Document your previous observations and note any irregularities.
This preparation entails checking your equipment, ensuring you re properly suited in your protective gear, and revisiting your previous inspection notes.
By doing so, you remain well-informed about the hive’s health and any irregularities that may warrant further attention.
What Are the Essential Steps to Prepare for a Hive Inspection?
Preparing for a hive inspection requires a methodical approach that gives you the power to maximize effectiveness while ensuring your bees remain calm throughout the process. Your key steps should include gathering all necessary tools, checking weather conditions, and reviewing your last inspection notes to assess hive health and any changes since your previous visit.
By making sure that all essential equipment, including hive tool, smoker, and protective gear, is at your fingertips, you can minimize delays and disruptions during the inspection.
This allows you to concentrate on evaluating the colony s condition without unnecessary stress.
Understanding the weather is equally important; calm, sunny days are perfect for inspections since bees are less likely to become agitated.
As you review your previous notes, you’ll be able to pinpoint any specific issues, such as signs of disease or the presence of pests like Varroa mites that may require extra attention, facilitating a proactive approach to managing your hive. Documenting these observations is crucial for effective pest control.
These careful preparations collectively lead to a more efficient inspection process, fostering a healthier environment for your bees and enhancing your overall beekeeping experience.
How to Conduct a Hive Inspection?
Conducting a hive inspection demands your careful attention to detail and a structured approach, allowing you to effectively assess the health and productivity of your bees.
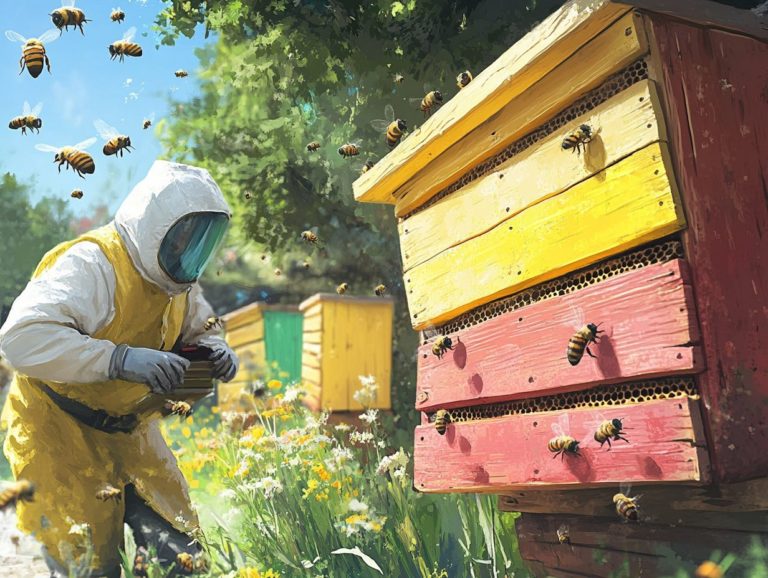
Typically, the process starts with the careful removal of the hive lid, accompanied by the gentle use of a smoker to soothe the bees. This is followed by a careful look at the frames, where you can observe the queen, brood patterns, and any potential signs of pests or diseases.
What Are the Essential Steps to Conduct a Hive Inspection?
The steps for conducting a hive inspection offer you a structured approach to assess critical aspects of hive health both efficiently and thoroughly, using proven beekeeping techniques.
This methodical process starts with you gathering the necessary tools like a hive tool, smoker, and protective gear because having the right equipment is essential for ensuring your safety and efficiency. It’s beneficial to follow a hive inspection checklist to ensure you don t miss any important steps.
When you’re ready, gently open the hive without disturbing the bees.
As you delve in, inspect each frame with purpose, searching for the queen, whose presence is vital for the colony’s sustainability. Pay close attention to the brood and honey stores as well; they serve as indicators of the hive’s vitality.
Throughout this entire process, it’s essential that you meticulously document your observations, noting any irregularities. Detailed records are invaluable for tracking the progress of your hives and making data-driven decisions.
This record-keeping allows you to track changes over time and spot patterns that may reveal underlying issues with the hive s health.
Regular hive inspections ensure your bees thrive and produce honey. Stay proactive and enjoy the sweet rewards of beekeeping!
What to Look for During a Hive Inspection?
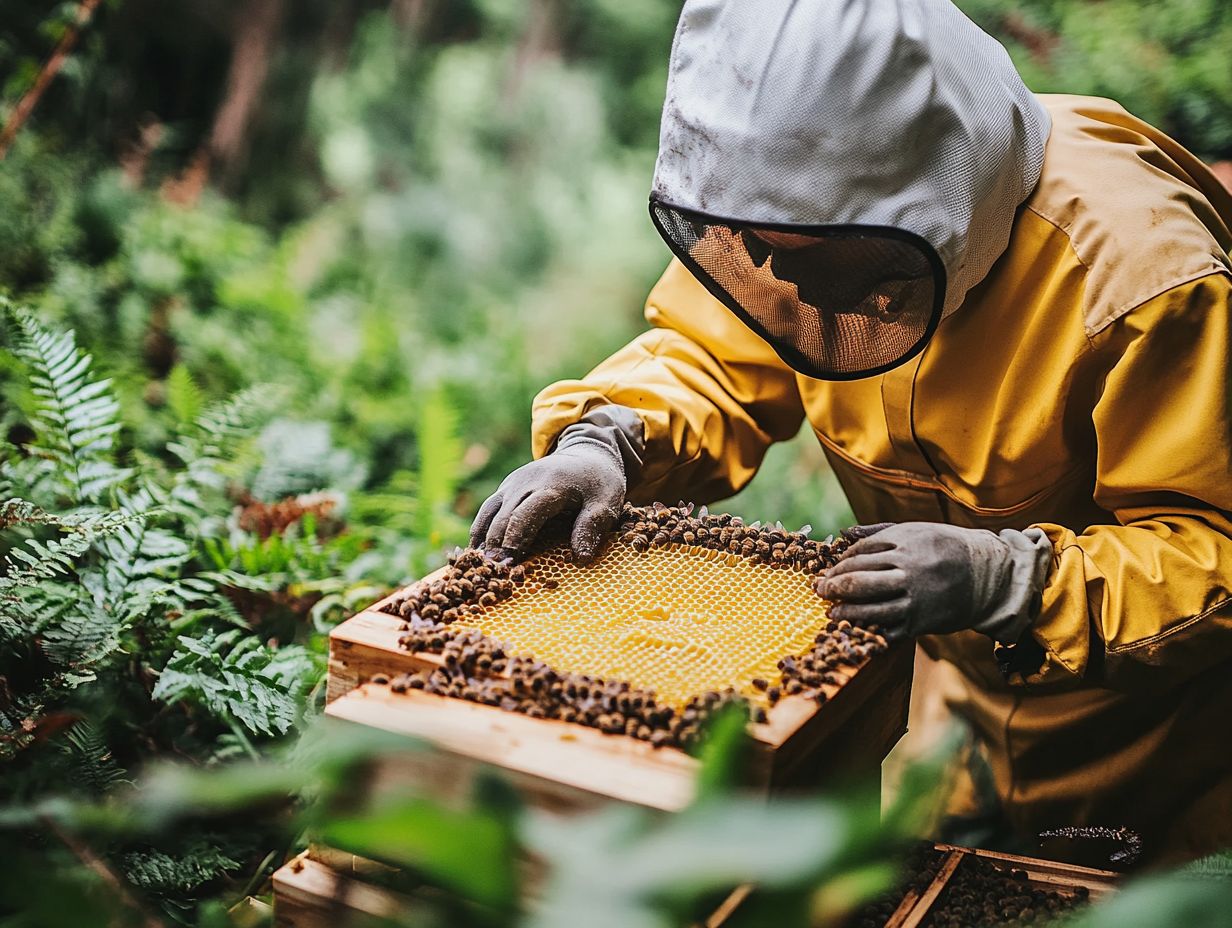
During a hive inspection, you should concentrate on specific indicators that reveal the overall health and productivity of your colony. Look for the presence of the queen, examine the brood patterns, and be vigilant for any signs of pests or diseases.
By meticulously observing the bees’ behavior and assessing the condition of the hive’s various components, such as frames and honey stores, you can detect irregularities that may signal underlying problems requiring your prompt attention. Using appropriate methods and techniques can make this task more manageable.
What Are the Signs of a Healthy Hive?
Identifying the signs of a healthy hive is essential for you as a beekeeper to ensure your colonies thrive and produce honey effectively. Consulting with a local beekeeping association or experts like David Burns can provide additional insights.
A healthy hive typically showcases active foraging behavior among the bees, a visible and well-mated queen, robust brood patterns, and an overall lack of pest infestations all of which signal a stable and productive colony.
Beyond these visible indicators, the presence of various life stages of bees, including healthy larvae and pupae, is a testament to successful reproduction. Adequate availability of nectar and pollen sources also contributes to a thriving hive.
You should also observe the bees for a gentle temperament, which often suggests contentment within the colony.
Regular inspections of hive cleanliness are crucial; a lack of mold and feces indicates effective grooming behaviors and overall colony health. The queen s performance is vital as well; her consistent egg-laying not only reflects her health but also her ability to maintain population stability. By diligently monitoring these characteristics, you foster a thriving environment for both your bees and yourself.
What Are the Signs of a Sick Hive?
Recognizing the signs of a sick hive is essential for you as a beekeeper to take swift action before issues escalate and threaten the colony’s survival. Common indicators that your hive might be in trouble include a dwindling bee population, irregular brood patterns, the presence of dead bees, or signs of a failing queen. Each of these symptoms calls for your immediate attention and potential intervention.
Beyond these physical signs, you should also be vigilant for behavioral changes among the remaining bees. For example, if you notice increased aggression or unusual foraging patterns, these behaviors might indicate deeper issues, such as pest infestations or diseases. Pests like Varroa mites and American Foulbrood can severely undermine a colony’s health, making immediate treatment crucial.
Timely detection of these warning signs is vital; taking prompt action can help mitigate threats and ensure your hive remains productive and healthy. By understanding these nuances, you give the power to yourself to support your colonies effectively, safeguarding them from potential devastation. Incorporating seasonal inspections can further help in tracking the colony’s health.
What to Do After a Hive Inspection?
After you finish a hive inspection, it’s essential to follow a structured approach to effectively manage your bees and tackle any issues that may have arisen. Begin by meticulously documenting all your observations and notes. Using a hive inspection checklist can be very beneficial.
Next, assess the hive’s condition based on your findings, and strategize any necessary interventions to resolve problems or boost productivity as required. This careful attention to detail will ensure your beekeeping practices yield the best possible results. Consult with experienced beekeepers for tips and best practices.
How to Record Hive Inspection Findings?
Recording your hive inspection findings is an essential practice that gives you the power to effectively monitor the health and management of your colonies over time. As a beekeeper, you should maintain meticulous notes that encompass key observations, such as the queen’s presence, brood conditions, any signs of pests, and other irregularities noted during your inspections.
This detailed documentation is your secret weapon for successful beekeeping! It will provide you with invaluable data for future reference and informed action. Using apps or software for beekeeping makes record-keeping easier.
To truly enhance the utility of your records, consider organizing the information systematically perhaps by date or hive location to allow for swift access during your subsequent inspections. Incorporating diagrams or photographs can further clarify specific issues, such as disease presence or hive structure conditions.
Note weather patterns, flowering plants, and foraging activity to offer vital context that deepens your understanding of the overall health of your colony. Engaging in regular routine checks and documentation will help in identifying irregularities early.
By adhering to these best practices, you not only ensure accurate record-keeping but also create a comprehensive reference that supports your decision-making and promotes the wellbeing of your bees. Keeping detailed records and following essential steps after each inspection will help you manage your apiary more effectively.
What Are the Next Steps After a Hive Inspection?
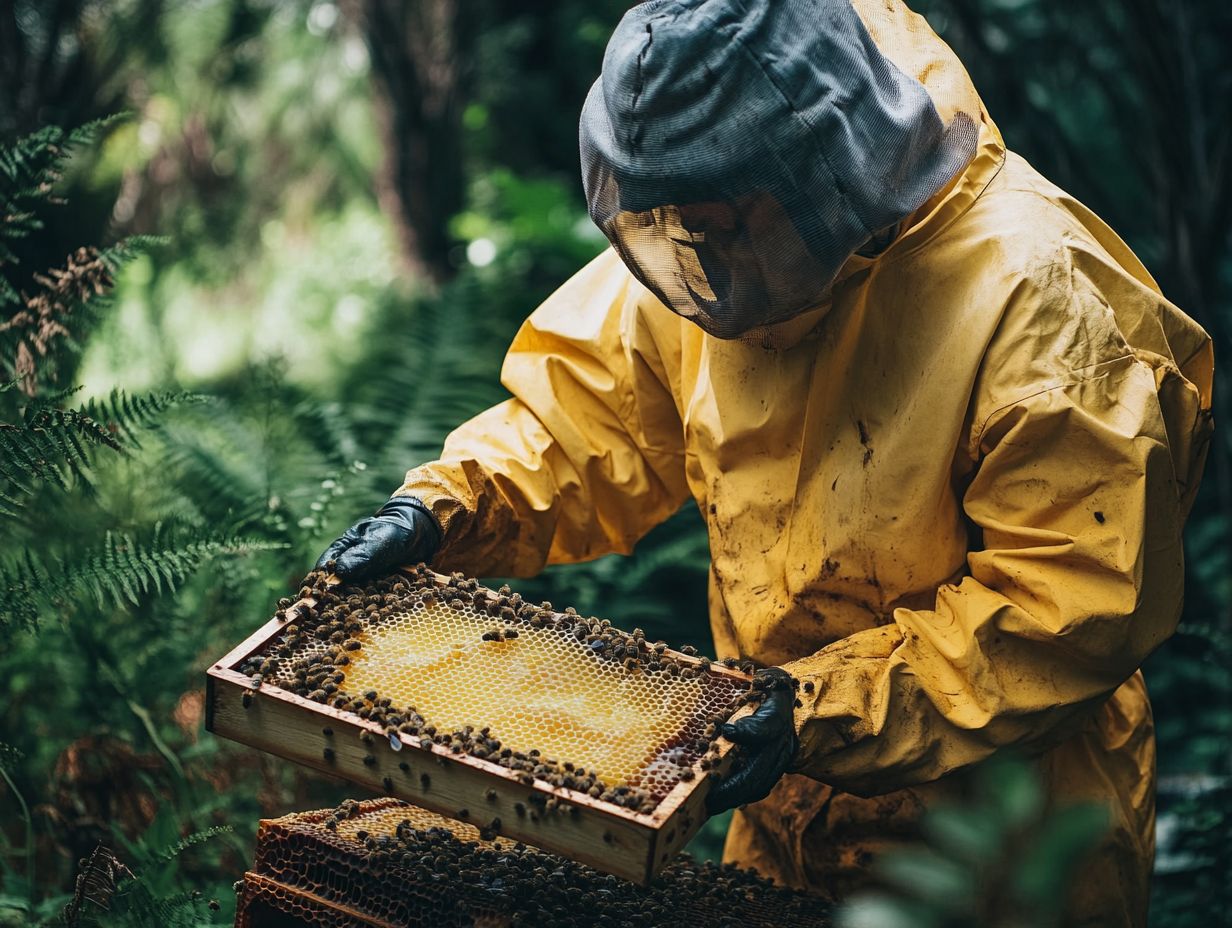
After conducting a thorough hive inspection, act now by crafting a clear action plan that outlines your next steps based on your observations. This plan might involve tackling any problems you uncovered, whether that means implementing pest control strategies, refining your hive management techniques, or even planning to add a honey super if your colony is thriving.
Consulting with local beekeeping associations and following their methods can also provide additional insights. To develop an effective actionable plan, it s crucial to prioritize the issues identified during your inspection.
For instance, if you spotted pests like Varroa mites, which are harmful parasites that attack bees, you might want to consider treatment options such as organic acids or even installing screened bottom boards, which help reduce pest populations. If you noticed potential issues with insufficient food stores, assessing the need for supplemental feeding could be in order.
The experience of seasoned beekeepers like David Burns can offer invaluable advice in tracking and addressing such issues. Keeping detailed records of your observations and the actions you take can greatly enhance your decision-making for future inspections.
Collaborating with local beekeeping associations can also be incredibly beneficial, providing you with valuable insights and support to ensure your colony remains healthy and productive throughout the season. Always ensure you have the right equipment like protective gear and a hive tool ready for each inspection.
Frequently Asked Questions
What is a hive inspection?
A hive inspection checks the health of your bee colony in a managed hive. It involves examining the hive’s components, including frames, bees, brood, and honey stores, to ensure that the colony is thriving and identify any potential issues that may need to be addressed.
When should I conduct a hive inspection?
Hive inspections should be conducted every 7-10 days during the active beekeeping season. This allows beekeepers to monitor the hive’s progress and catch any potential problems early on. However, avoid opening the hive on cold, windy, or rainy days as this can stress the bees. Consider the temperature and weather conditions before each inspection to ensure the safety and calm of the bees.
What tools do I need for a hive inspection?
The essential tools for a hive inspection include a beekeeping suit, hive tool, smoker, and bee brush. These tools help protect you from bee stings and allow you to gently move and inspect the bees and frames without causing harm to the colony. Protective gear is crucial for safety during inspections.
How long does a hive inspection take?
A hive inspection usually takes 10 to 30 minutes. The time can vary based on the colony’s size and health, along with the beekeeper’s skill level.
What should I look for during a hive inspection?
Look for signs of a healthy colony, including a queen bee and brood in various development stages. Check for enough honey stores and watch for any signs of disease or pests.
Identifying issues early is crucial. Observing the hive parts and structure can help you spot problems before they escalate.
What should I do after a hive inspection?
Record your findings in a hive inspection log. This log helps you track the colony’s progress and serves as a reference for future inspections.
Make sure to close the hive properly to avoid disturbing the bees. Include detailed notes about the cells, brood, and hive structure in your log.

