Best Practices for Hive Inspections
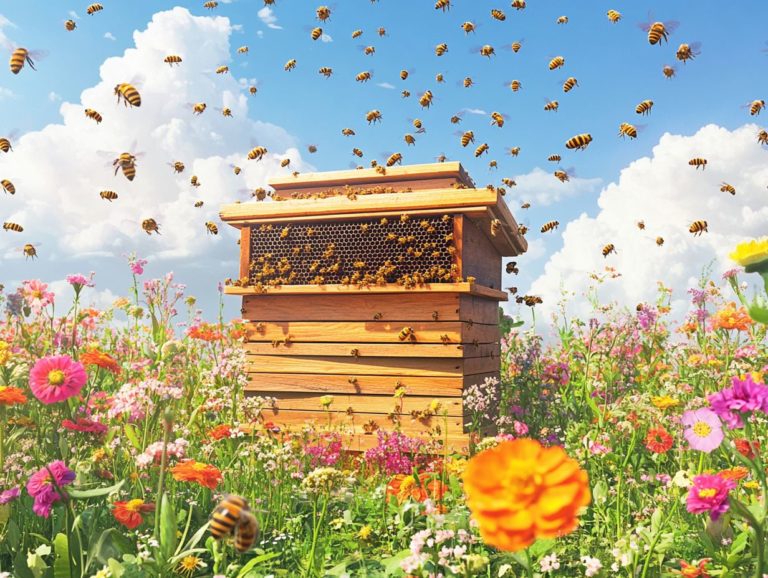
Regular hive inspections are crucial for maintaining healthy and productive bee colonies. Understanding the optimal timing for these inspections during spring, summer, and fall allows you to effectively monitor your beehive and apply necessary beekeeping tips for better outcomes.
With the right tools in hand, such as protective gear and a hive tool, you ll be fully prepared to conduct thorough assessments and inspect hive conditions accurately. This guide will walk you through the significance of inspections, provide step-by-step procedures, and outline follow-up actions, empowering you to cultivate a thriving beekeeping experience.
Contents
- Key Takeaways:
- Why Are Hive Inspections Important?
- When Should Hive Inspections Be Done?
- What Tools Do You Need for a Hive Inspection?
- How to Perform a Hive Inspection?
- What to Do After a Hive Inspection?
- Frequently Asked Questions
- What are best practices for hive inspections?
- What should I look for during a hive inspection?
- How often should I clean my hive?
- What should I do if I find signs of disease or pests during a hive inspection?
- When is the best time of day to conduct a hive inspection?
- How can I ensure the safety of both myself and the bees during a hive inspection?
Key Takeaways:
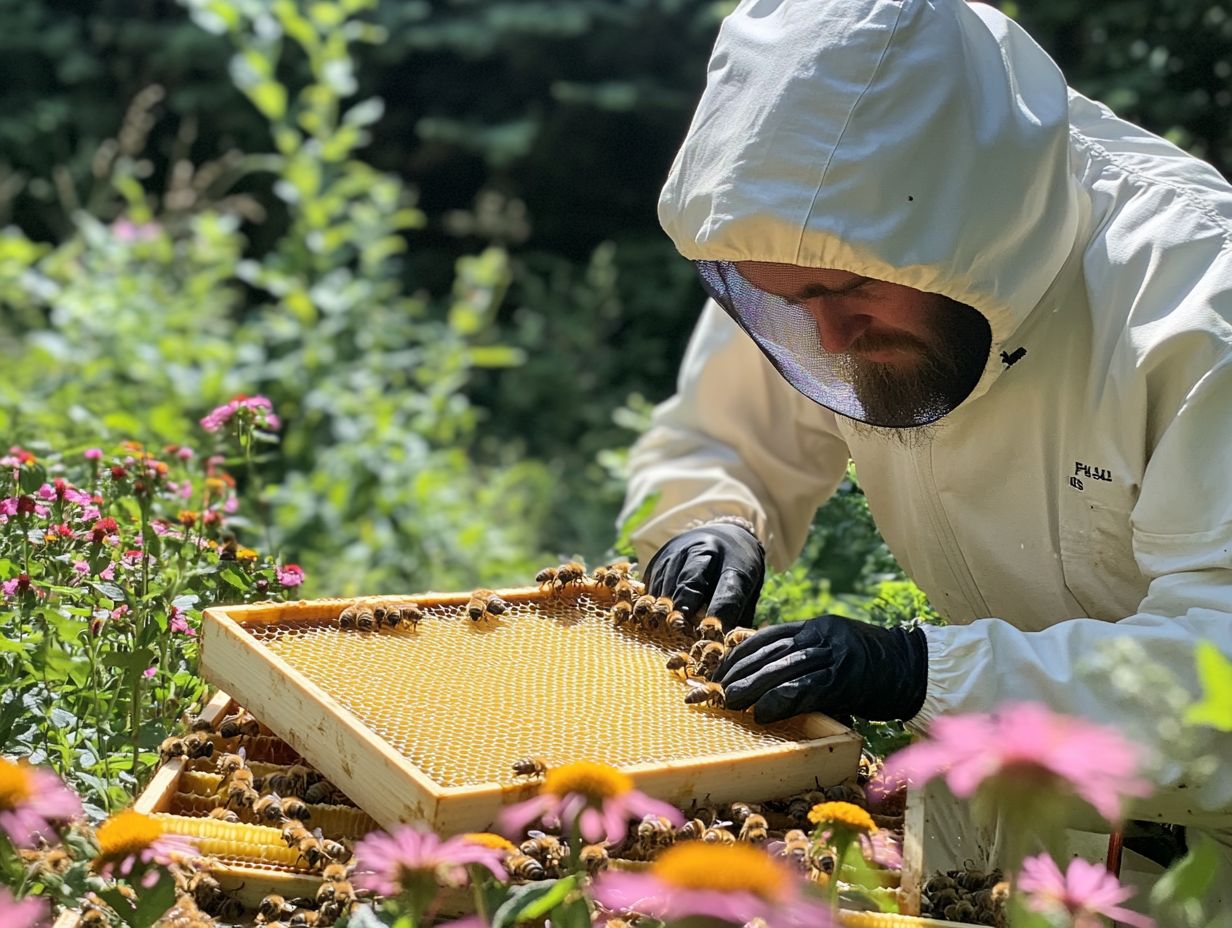
- Regular hive inspections are crucial for maintaining healthy and productive bee colonies.
- Inspections should be done at specific times of the year, such as spring, summer, and fall.
- Essential tools for a successful hive inspection include protective equipment, a hive tool, smoker to calm bees, brush, and queen catcher.
Why Are Hive Inspections Important?
Hive inspections are essential as they serve as your primary tool for monitoring the health of your honey bee colonies. Regular inspections empower you to assess hive conditions, check for diseases, and identify pesky intruders like Varroa mites parasites that can harm bee colonies or wax moths that could jeopardize your colony’s survival.
These inspections also provide valuable insights into bee behavior and brood patterns the arrangement of eggs and larvae in the hive ensuring that both your queen bee and worker bees are operating at their best. By closely observing the health of your colony, you can implement effective hive maintenance strategies that promote the vitality of your colonies and enhance your honey production. Taking notes during each inspection lets you catch changes quickly and act fast.
When Should Hive Inspections Be Done?
Timing is crucial for your hive inspections, as each season presents its own set of challenges and opportunities for you as a beekeeper.
In spring, assess the colony s strength after the winter months and evaluate the health of brood patterns along with pollen loads. Don t wait to check for queen cells, as they can signal swarming.
In summer, monitor the hive s health during its peak activity. Conduct frame inspections regularly to keep track of honey stores and monitor egg laying by the queen bee.
As fall arrives, prepare the hive for the upcoming winter, ensuring that proper honey stores are maintained and the colonies remain healthy. Winter inspections and preparation tips are crucial during this time.
Each season demands specialized beekeeping strategies to effectively manage hive conditions and adapt to the shifts that nature brings. Record keeping during inspections can help in planning future actions and improving your beekeeping techniques.
1. Spring Inspections
Spring inspections are essential, marking the beginning of the beekeeping season and offering valuable insights into the health of your colony after the winter months. During this crucial period, check closely for the brood pattern to assess the queen bee’s productivity and confirm that the hive conditions are just right for the emerging worker bees. This initial inspection lays the groundwork for ongoing health monitoring throughout the season, enabling timely interventions that support your colony’s growth.
Understanding what to look for during these inspections can truly make a difference. Pay attention to the brood pattern for any irregularities, such as spotty or drone-laden combs, which might signal issues with the queen or deficiencies in nutrition.
Monitoring the queen bee’s activity is vital; a bustling, well-mated queen is a clear indicator of a thriving colony. Evaluating the overall strength of your colony involves counting the number of frames covered with bees and assessing the availability of food resources.
It’s also wise to keep an eye out for signs of diseases or pests, such as Varroa mites. Taking proactive measures, like maintaining tidy hive conditions and ensuring proper ventilation, fosters a healthy environment for your bees, setting the stage for a productive season ahead.
2. Summer Inspections
Summer inspections are vital for evaluating the health of your honey bee colonies during the busiest season for beekeeping. Focus on inspecting the frames to assess honey stores and look for signs of bee stress or harmful pests that might be impacting the strength of your colonies. This time of year presents a valuable opportunity to keep your hive productive and make necessary adjustments in how you manage your bee yard to optimize honey production.
During these inspections, pay close attention to the brood pattern, which is the arrangement of eggs and larvae in the hive. A healthy brood is a clear indicator of a thriving colony. Be on the lookout for any unusual behaviors among your bees, such as increased aggression or decreased foraging activity, as these could signal underlying problems.
Monitoring the availability of forage resources is crucial to supporting your colony s needs during this peak season. By identifying and addressing potential issues early on, you can prevent larger setbacks, ensuring a successful harvest and contributing to the overall health of the bee population.
3. Fall Inspections
Fall inspections are not just a routine check; they are a vital step in preparing your honey bee colonies for the upcoming winter months. This is the time to ensure that all necessary precautions are in place to maintain hive health. Conduct thorough inspections to evaluate honey stores and assess the overall strength of your colonies.
Check for any diseases or pest issues that could jeopardize their survival. Proper fall management is key to making sure your hives are well-equipped to face the challenges of winter.
Beyond just checking honey stores, consider the overall population of your colony. Pay close attention to the queen’s health and ensure there are enough worker bees available for foraging and hive maintenance.
Implementing effective pest management strategies is crucial at this time. Keep an eye out for varroa mites and other pests, as early detection can prevent infestations that may weaken your colonies during the colder months.
Don’t forget about insulation and protection from harsh weather. Ensuring that your hives are properly insulated will create an optimal environment for your bees to thrive during their winter dormancy, ultimately enhancing their chances of a successful revival come spring.
What Tools Do You Need for a Hive Inspection?
Equipping yourself with the right tools is essential for conducting effective hive inspections, allowing you to monitor your colonies safely and efficiently.
Key beekeeping equipment includes:
- Hive tool to open the hive and inspect frames,
- Protective gear to shield yourself from bee stings,
- Smoker to soothe the bees, minimizing their stress during inspections.
Having a brush on hand for gently relocating bees and a queen catcher for easily locating the queen bee can significantly elevate your inspection process.
1. Protective Gear
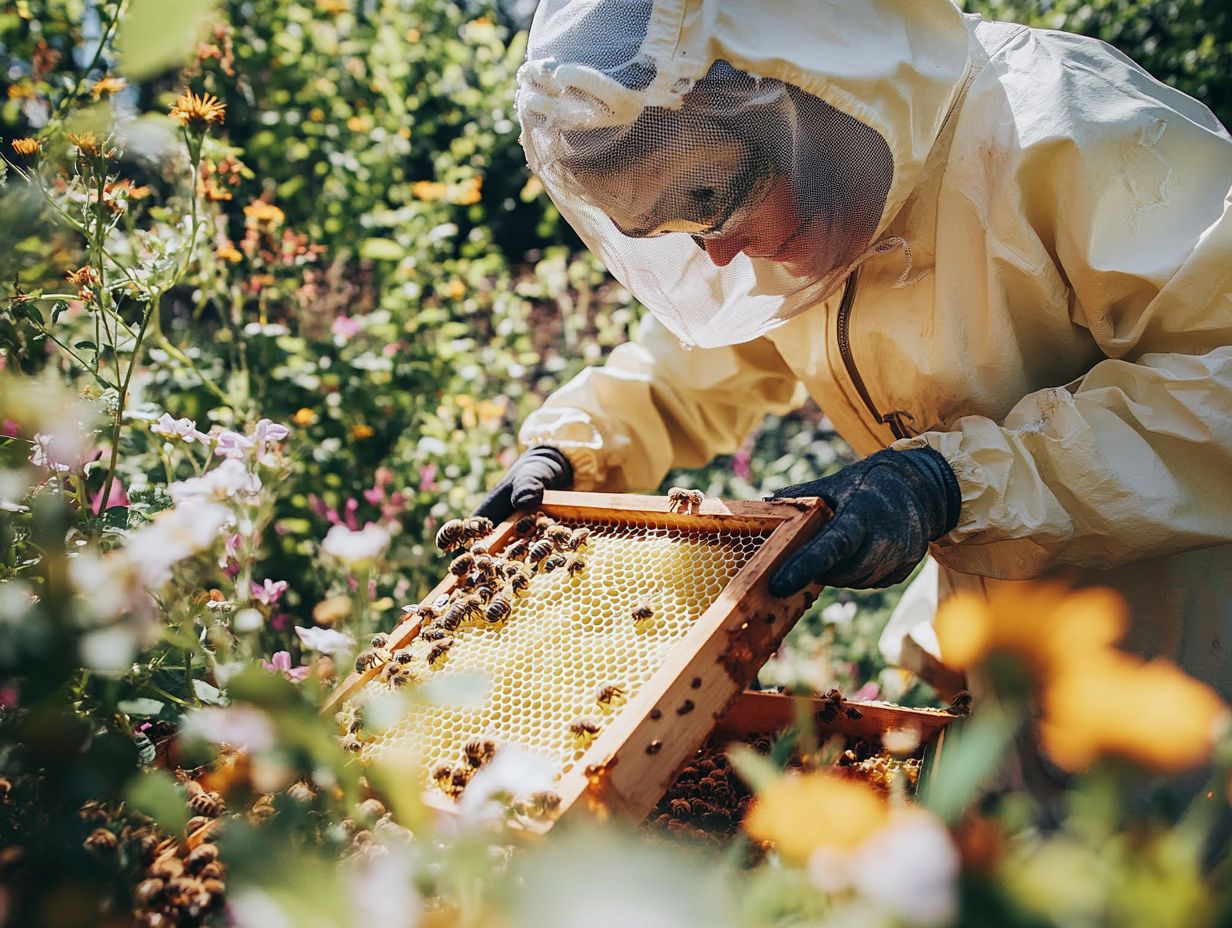
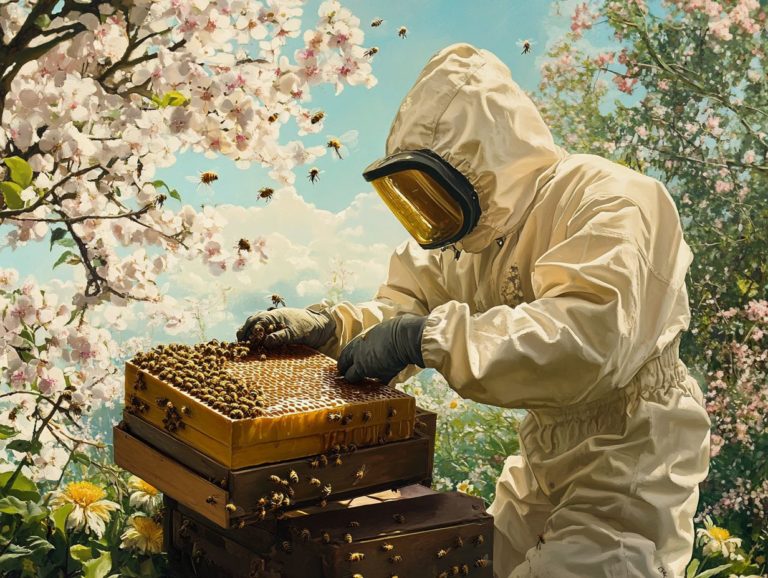
Protective gear is an essential aspect of your beekeeping journey, offering both safety and comfort as you work with honey bees. Key pieces of equipment include bee suits, gloves, and veils, all designed to minimize the risk of bee stings. Ensuring that you are properly equipped with protective gear boosts your confidence during hive inspections and fosters a calm atmosphere among the bees, leading to a more successful inspection process.
The type of gear you choose can vary greatly based on your personal preferences and the level of bee activity in your area. For example, a full-bodied bee suit provides maximum protection but may feel a bit warmer, whereas a ventilated option allows for better airflow on hot, sunny days. It s vital to select gloves that fit you well; oversized or too-small gloves can hinder your dexterity, making it more challenging to handle hives safely. Always conduct an equipment check before starting your inspection process.
As you don your gear, remember to keep your equipment clean and in good condition. Regularly checking for any damage or wear is essential for maintaining high safety standards. Following safety protocols, like approaching hives calmly and removing jewelry that could catch or irritate the bees, will enhance your beekeeping experience. Maintaining a calm demeanor during inspections can significantly reduce bee stress and improve the efficiency of your hive inspections.
2. Hive Tool
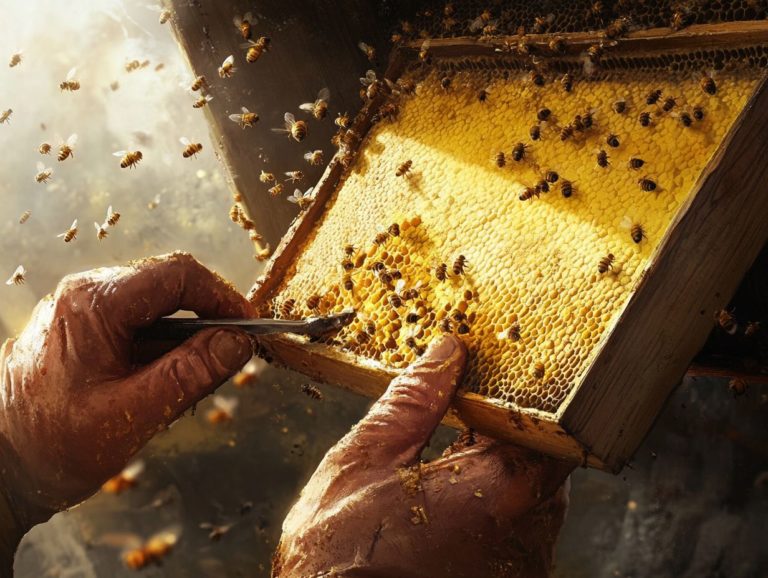
The hive tool is an essential piece of beekeeping equipment that plays an important part in inspecting frames and manipulating hive components. This versatile tool enables you to pry open hive boxes and scrape away propolis, simplifying your access to the frames for a comprehensive inspection. Using the hive tool correctly is essential for managing your bees effectively.
Using a hive tool correctly ensures a seamless inspection process and helps maintain optimal hive conditions by protecting the integrity of the bees home.
Beyond just lifting and scraping, your hive tool can effectively separate sticky frames and assist in the removal of dead bees and debris from the hive bottom. As you wield this essential instrument, it’s crucial to maintain a steady grip and work methodically, minimizing stress on the bees.
Remember to utilize the curved end for prying and the flat end for scraping to maximize its effectiveness.
Regular maintenance of your hive tool is equally important. Keep it clean and rust-free to ensure it s always ready when you need it. Pairing your hive tool with appropriate protective gear during hive inspections enhances your safety and reduces the risk of accidents for both you and the bees.
3. Smoker
A smoker is your secret weapon in beekeeping, expertly crafted to keep bees calm and your inspections smooth. When you use a smoker, it produces smoke that creates a sense of confusion among the bees, prompting them to focus on gathering honey rather than defending their home. This calmness not only simplifies your inspections but also cultivates a more serene environment for the bees.
Learn to use and maintain your smoker for better inspections. Techniques such as utilizing dry fuel materials that produce cool, white smoke can significantly influence bee behavior during hive inspections.
Regular maintenance like cleaning and checking for blockages ensures that your smoker performs optimally whenever you need it.
Applying the right amount of smoke establishes a rhythm during inspections, allowing you to observe the hive more closely while minimizing any disturbance. By mastering these techniques, you ll not only create a safer inspection experience for yourself but also foster a healthier and more productive environment for your bees.
4. Brush
A bee brush is an invaluable tool for you as a beekeeper, enabling you to gently remove bees from frames and equipment during hive inspections. This tool shines particularly when inspecting frames, as it minimizes harm to the bees and helps maintain a serene atmosphere within the hive. By utilizing a brush, you can enhance your efficiency, allowing for access to essential areas without causing undue stress to the honey bee colony. These beekeeping tips can help you maintain a calm demeanor and improve your overall inspection process.
When you use the brush, remember to adopt a soft, sweeping motion rather than aggressive flicks. This approach encourages the bees to move without inducing panic. Your demeanor matters too; approaching the hive calmly and speaking softly can create a more relaxed environment, significantly reducing the chances of aggressive behavior from the bees.
Before diving into inspections, it’s wise to dress appropriately and ensure all necessary tools are within reach. This preparation limits hive disturbance and protects those delicate bees. By taking these measures, you not only safeguard their well-being but also set the stage for a more productive inspection, leading to improved hive management and adherence to best practices for hive sanitation.
5. Queen Catcher
A queen catcher is an invaluable tool that will assist you in locating and safely capturing the queen bee during your hive inspections. This specialized device is essential for monitoring the queen’s health and productivity, as she is crucial in maintaining the strength of your colony. By using a queen catcher, you can minimize stress on the queen while allowing for direct observation of her condition, which is vital for effective hive management.
With this device in hand, you can sidestep the chaos that often arises when the queen is inadvertently lost or disturbed. It’s designed to gently confine the queen without causing her harm, ensuring her secure presence in the hive.
When you use a queen catcher, remember to practice patience and observe the hive’s behavior closely. A calm environment is far more conducive to finding her. Positioning the queen catcher close to the queen will significantly enhance your chances of a successful capture.
Proper positioning and gentle handling are key strategies that will streamline your inspection process, making it smoother and less stressful for both you and the bees.
How to Perform a Hive Inspection?
Conducting a hive inspection requires a meticulous approach that guarantees an in-depth assessment of your colony’s health and productivity. Regular hive inspections are essential for monitoring the health and strength of your honey bee colonies.
Begin by preparing the hive; this means gathering all the essential tools and equipment you ll need. Once equipped, proceed to gently open the hive and examine the brood box, searching for the queen bee and observing the brood patterns for signs of vitality. Detailed notes on the condition of the brood pattern and queen bee can significantly aid in efficient hive management.
Inspecting the frames is vital, as it allows you to spot any potential signs of disease or pest issues. Additionally, assessing the honey stores is crucial to ensure the colony has sufficient resources to thrive in the upcoming season. Remember to inspect hive conditions and record keeping for better apiary management.
1. Preparing the Hive
Preparing your hive for inspection is an essential step to ensure a smooth and efficient process, allowing you to focus on monitoring the health of your honey bee colonies. This preparation involves gathering all the necessary beekeeping equipment think smoker, hive tool, and protective gear and setting up in a quiet environment to maintain a calm demeanor. By properly preparing the hive, you not only make yourself more comfortable but also reduce stress for the bees, leading to a better inspection experience.
It’s crucial to conduct thorough equipment checks, ensuring each tool is in good working condition, functioning as intended, and easily accessible when you need it. Selecting an ideal location for the inspection is also key; choose a spot sheltered from strong winds and disturbances to promote tranquility during the process.
Establishing safety protocols cannot be overlooked. Take a moment to evaluate the surroundings for potential hazards, ensure that the hive is stable, and don your protective gear, such as a veil and gloves, to guard against stings. Adequate preparation not only enhances your safety and efficiency but also fosters a more harmonious interaction with the bees during what can be a delicate operation.
2. Checking the Brood Box
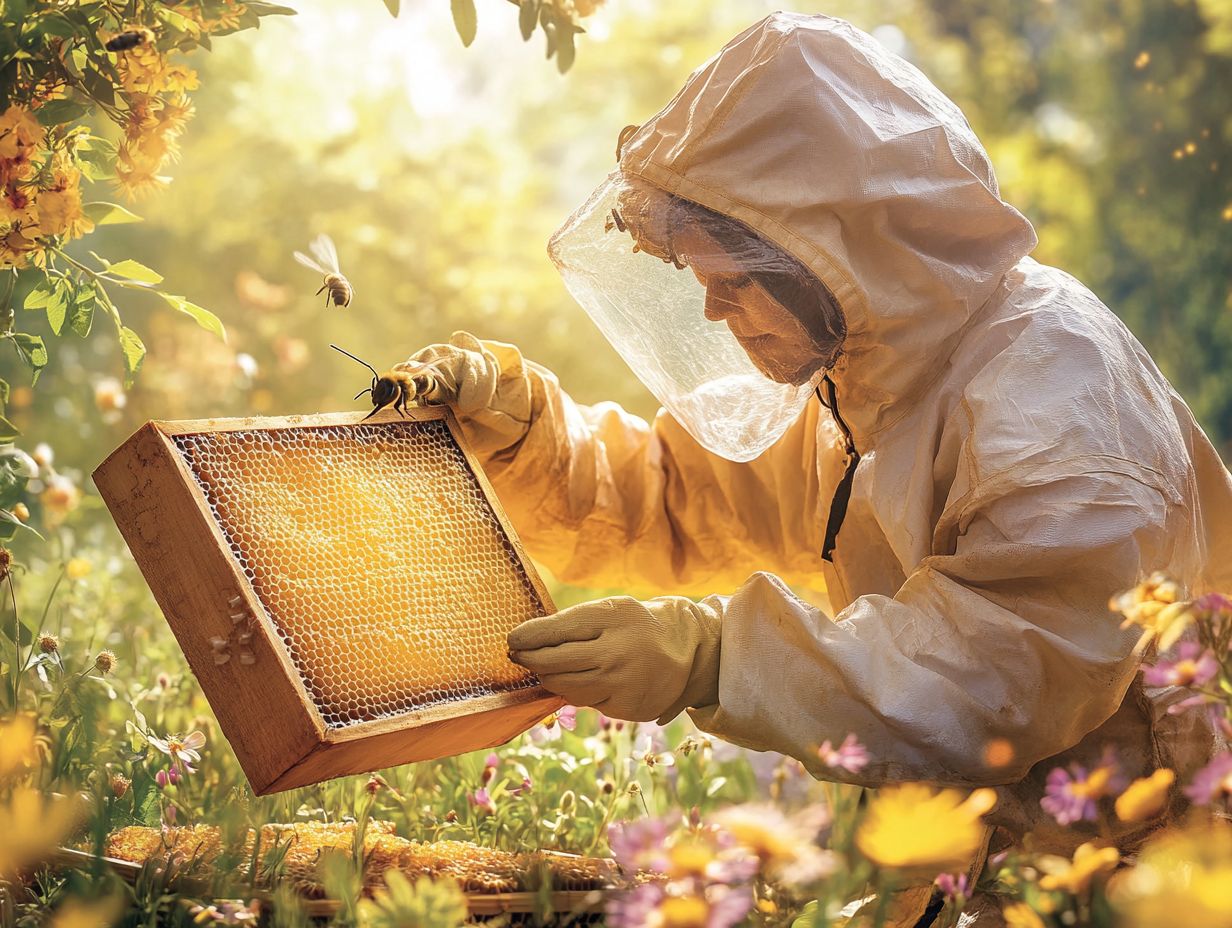
Checking the brood box is an essential step in your hive inspection process. It reveals vital information about your colony’s health and the queen bee’s productivity. You should examine the brood pattern closely to ensure it s consistent and healthy. This indicates that the queen is actively laying eggs.
Observing the behavior of the bees in the brood box will give you valuable insights into the overall strength of your colony and whether any intervention might be needed. Look for specific signs of brood health, such as uniformity in brood cells and the absence of dead or discolored larvae. Note the presence of sealed brood, as this signifies recent egg-laying activity.
Pay attention to the bees themselves; if they are calm and composed, it s a good sign of a healthy environment. Conversely, excessive aggression or unusual clustering could indicate stress or disease. Check for signs of pests or diseases; their presence can significantly affect your colony’s health. Monitoring egg laying and checking for queen cells can provide detailed insights.
3. Inspecting the Honey Supers
Inspecting the honey supers is a critical component of your hive inspection process. This enables you to assess the honey stores available for your colony. Evaluate the quantity of honey stored in the supers and determine if your bees have sufficient resources to navigate the forthcoming seasonal changes. Proper frame inspection and observing behavior during these inspections can help maintain healthy colonies.
A thorough check of honey stores is vital for maintaining the health of your colonies and ensuring they are well-supplied throughout the year. Observing pollen loads and hive temperature can also provide valuable insights into the hive’s condition.
To kick off this assessment, carefully remove the honey supers from the hive and inspect each frame individually. Pay special attention to sealed honey cells, as these indicate that the honey is fully ripened and ready for extraction.
Act quickly if supplies are low, especially in late summer or early fall! Consider supplementing your colonies with sugar syrup or alternative feeding methods. During winter inspections, ensure there are enough supplies. This is vital for your colony’s survival.
By recognizing reductions in honey stores early on, you can prevent unnecessary stress on your colony as they prepare for winter. Regular hive inspections provide valuable insights into the hive’s health and ensure that your bees are adequately equipped for seasonal challenges ahead. Proper beekeeping techniques, such as calm handling and using bee-friendly methods, contribute to better overall hive maintenance.
4. Looking for Signs of Disease or Pests
During your hive inspections, it’s crucial to look for signs of disease or pests to maintain your bees’ health and ensure the survival of the colony. Be vigilant for indicators like abnormal brood patterns or the presence of Varroa mites. Identifying these issues early allows you to take timely action to address any problems before they escalate.
Look out for unusual behaviors in your worker bees! For example, reduced foraging activity or erratic flight patterns can signal underlying health issues within the hive. Additionally, monitor for signs of chalkbrood, a fungal disease that causes mummified larvae. Keeping detailed notes and records of these observations will help identify patterns and potential issues.
Establish a regular inspection schedule, use sticky boards to trap and count mites, and maintain good hive hygiene to enhance your early detection efforts. If you confirm a pest or disease problem, consider employing treatment options such as natural remedies or approved pesticides to effectively manage and minimize harm to your colony. Avoiding common inspection mistakes and using the right beekeeping equipment can lead to better results.
Implement these practices today for better hive health and a thriving colony!
5. Assessing Honey Stores
Assessing honey stores is an important part of checking your hives, especially as winter approaches. Check both the amount and quality of honey to ensure your bees have enough resources to survive the cold months.
Understanding honey stores helps you decide whether to feed your bees or adjust management practices. Winter inspections prepare your hives for harsh conditions.
Look closely at the stored honey for signs of your colony’s health. During the frame inspection (the process of examining the frames where bees store honey), check for well-capped honeycomb cells to ensure the honey is protected from moisture.
Monitor the spacing of hive frames. Overcrowding can indicate food shortages, leading to stress among your bees.
Evaluate for diseases and pests to maintain optimal conditions. Look for harmful pests like Varroa mites and notice any changes in bee behavior. Regular inspections and effective honey management enhance the chances of your colonies thriving through winter.
What to Do After a Hive Inspection?
After a hive inspection, take specific actions to support the health of your honey bee colonies. This step is important for effective apiary management.
Record keeping is critical. Write detailed notes about your observations, including any issues like irregular brood patterns or pest problems. These notes will help you plan future interventions.
1. Record Keeping
As a beekeeper, record keeping enhances your inspection process and aids effective apiary management. Keep detailed notes on hive conditions and any observed issues, like queen cells or unusual bee behavior, to track the health of your colonies.
Capture specifics like the date of inspection, weather conditions, hive activities, and treatments given. Organizing records in a digital spreadsheet or beekeeping app streamlines the process and makes retrieving information easier.
Consider tools like BeePlus and HiveTracks, which allow you to easily add notes and monitor trends. Consistent documentation supports the long-term sustainability of your apiary.
Engage with resources like the Growing Planet Media Podcast or advice from experts such as Jim Tew and Anne Frey for further insights into beekeeping techniques.
2. Addressing Any Issues
Addressing any issues discovered during a hive inspection is essential for ensuring the ongoing health and success of your honey bee colonies. As a beekeeper, take action now to monitor health, check for diseases, and tackle pest problems based on your observations during the inspection. Timely interventions can significantly bolster the resilience of your colonies, allowing them to thrive throughout the season. Maintaining a calm demeanor and using protective equipment during inspections can help you manage the hive more effectively.
To begin, meticulously document your findings. Note any signs of disease or pest infestations, such as varroa mites or American foulbrood. Once you identify any issues, you can implement treatment options that might include applying chemical treatments specifically designed for mites or opting for organic methods like essential oils for pest management. Regularly check for disease and monitor egg laying patterns to help catch issues early.
In some cases, you may need to keep sick bees away from healthy ones to prevent the spread of any diseases. Regular monitoring and follow-up inspections after treatment are vital to evaluate the effectiveness of your interventions, ensuring that your colony s health is effectively restored and maintained. Always remember to inspect the hive thoroughly during these follow-ups to check if the treatments are working as intended.
3. Planning for the Next Inspection
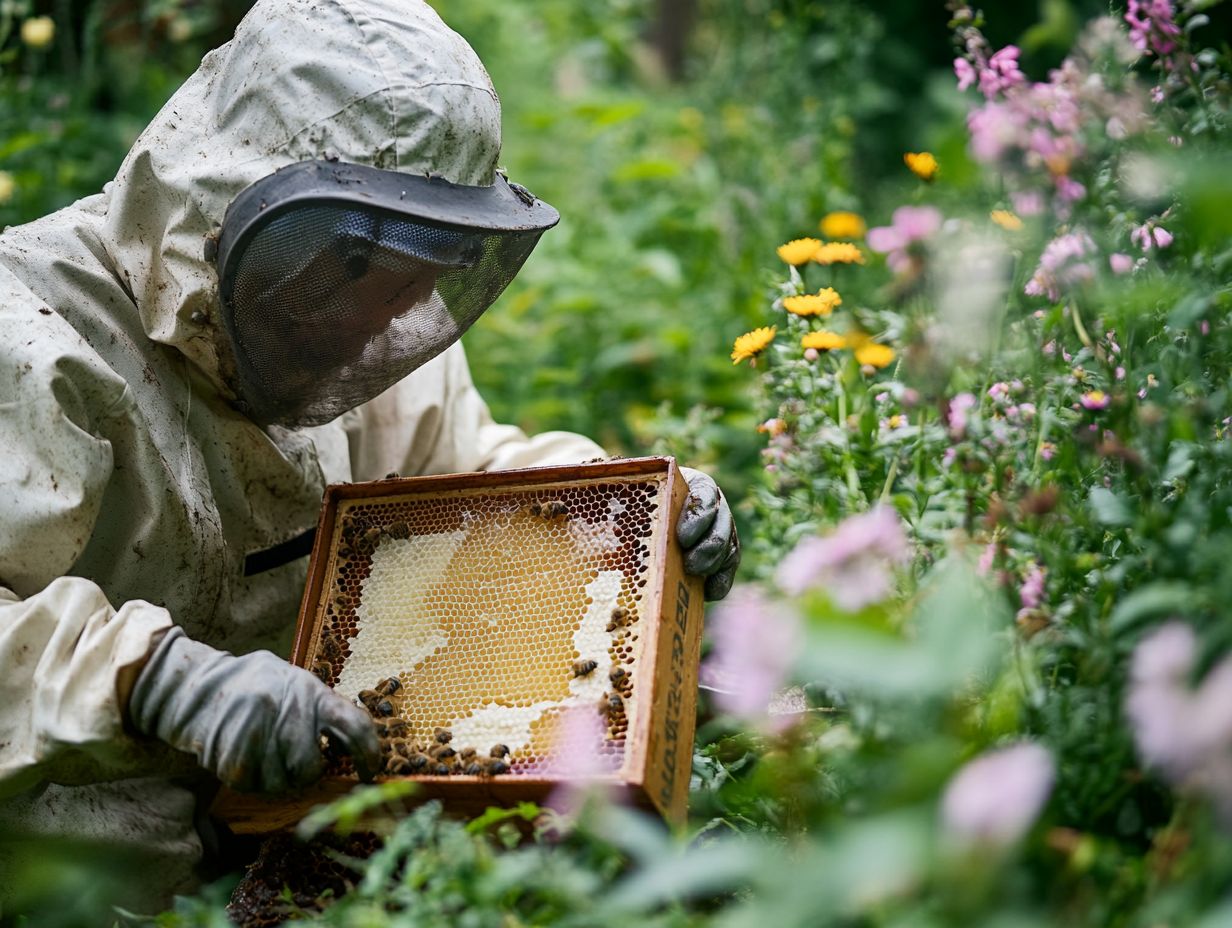
Planning for your next inspection is a crucial follow-up process that will help you maintain effective management of your hives throughout the beekeeping season. By reviewing detailed notes from your previous inspection and evaluating the current conditions of your hives, you can set clear goals for what to monitor in your upcoming session. This proactive approach ensures that you are well-prepared and fully equipped to tackle any emerging challenges. Be sure to include hive maintenance tasks in your plans to ensure longevity and productivity.
Consider the changing seasons, as they greatly influence bee activity and hive health. Tailor your inspection plans to reflect these seasonal variations. For example, determine the need for additional feeding in early spring or ensure proper ventilation during the heat of summer. Being mindful of seasonal changes will help you adapt your management practices accordingly.
Incorporating seasonal weather forecasts into your planning can also be beneficial. This allows you to schedule inspections just before potential rain or storms, optimizing your time in the field. Developing a checklist that includes essential tools like a smoker, hive tool, and protective gear will streamline the process, ensuring that nothing important is overlooked. Conduct an equipment check before each inspection to ensure all your beekeeping equipment is in good working order.
Engaging with fellow beekeepers to share observations can further enrich your planning process, providing valuable insights drawn from collective experiences. Consider joining online forums or local beekeeping clubs for additional support and beekeeping tips.
For more detailed guidance, check out the Betterbee website or listen to the Growing Planet Media Podcast for expert advice.
Frequently Asked Questions
What are best practices for hive inspections?
- Regular inspections: Inspect your hive at least once every two weeks during the active season to ensure the health and well-being of your hive.
- Check for queen cells: Look for queen cells during the active season as they can indicate swarming behavior or the need for a new queen.
What should I look for during a hive inspection?
- Signs of disease: Keep an eye out for any signs of disease or pests, such as an unusual number of dead bees, changes in brood pattern, or presence of mites. Observing the behavior of worker bees can provide additional insights.
In summary, regular inspections, timely interventions, and planning according to seasonal changes are crucial for maintaining a healthy hive. Stay engaged with the beekeeping community and utilize available resources to enhance your beekeeping practices.
How often should I clean my hive?
Keep your hive clean and free of debris. Clean it thoroughly at least once a year, and more often if you see pests or disease. Monitor the hive temperature during cleanings.
What should I do if I find signs of disease or pests during a hive inspection?
If you notice signs of disease or pests, act quickly to prevent spread. Consult a local beekeeping expert for the best steps to take.
When is the best time of day to conduct a hive inspection?
Inspect your hive during mid-day when bees are foraging. Avoid cold or rainy days to keep inspections calm.
How can I ensure the safety of both myself and the bees during a hive inspection?
Always wear protective gear like a beekeeping suit and gloves. Move slowly and avoid sudden actions to keep bees calm.

