How to Make Your Own Beekeeping Equipment
Beekeeping is a fulfilling pursuit, but you might find that the expenses can accumulate faster than you anticipated, particularly when it comes to acquiring equipment.
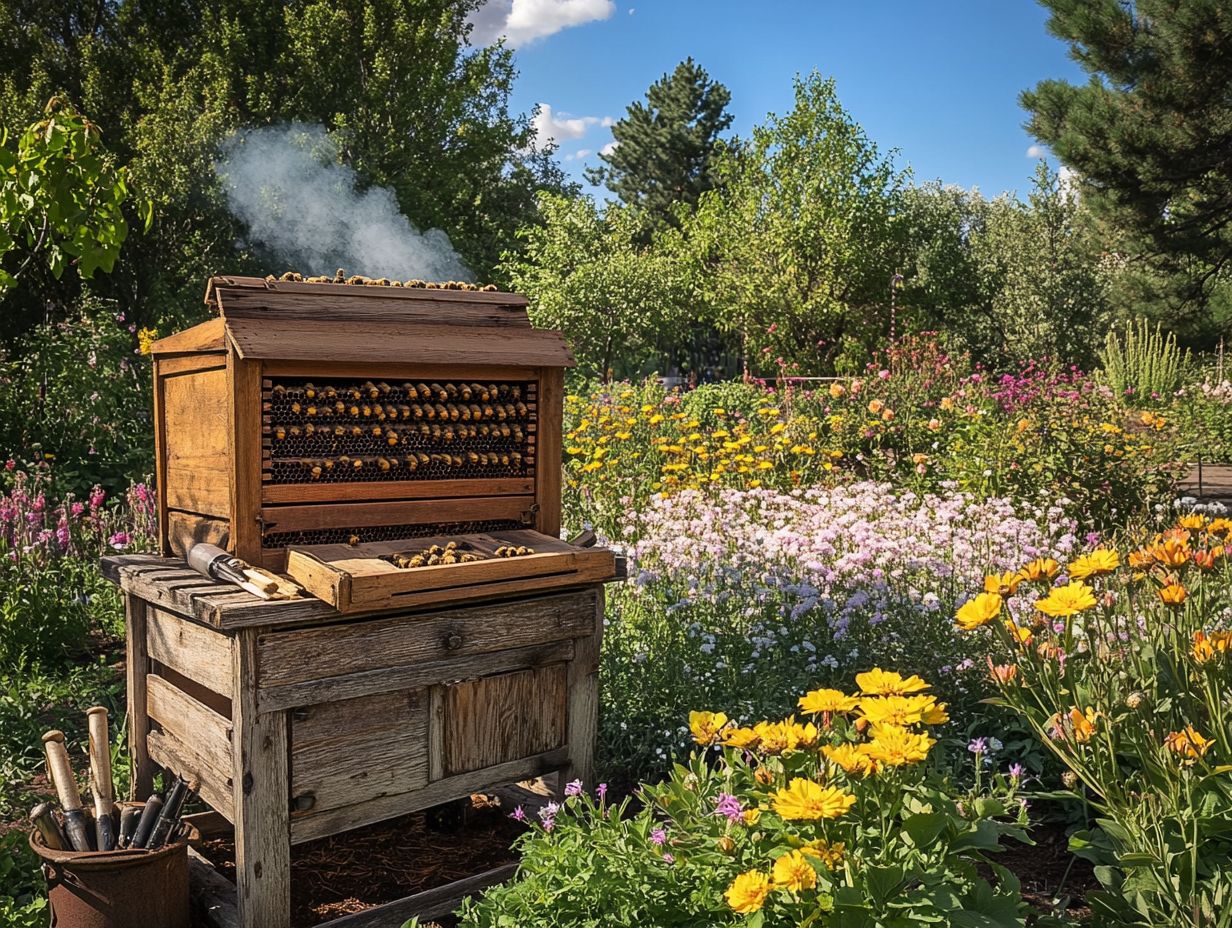
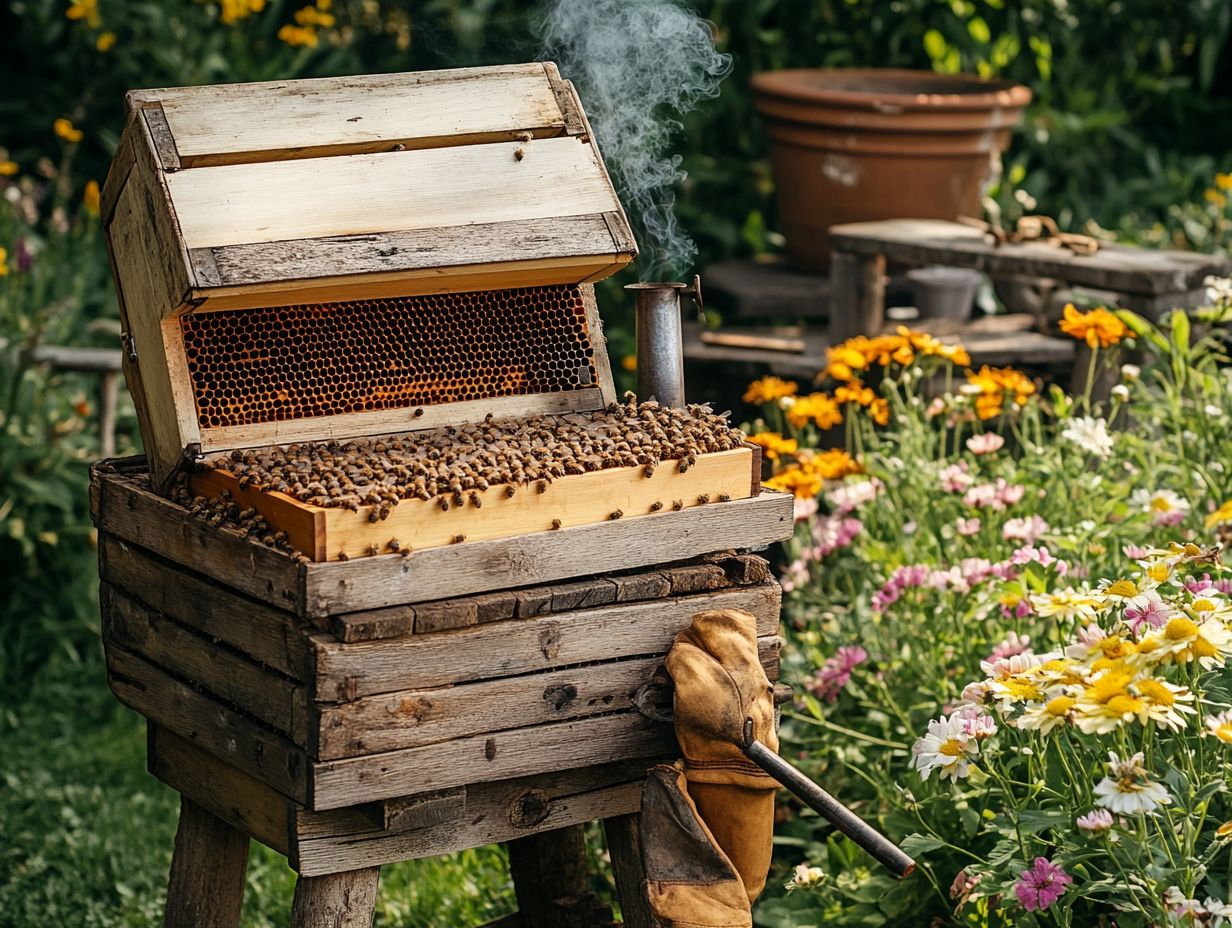
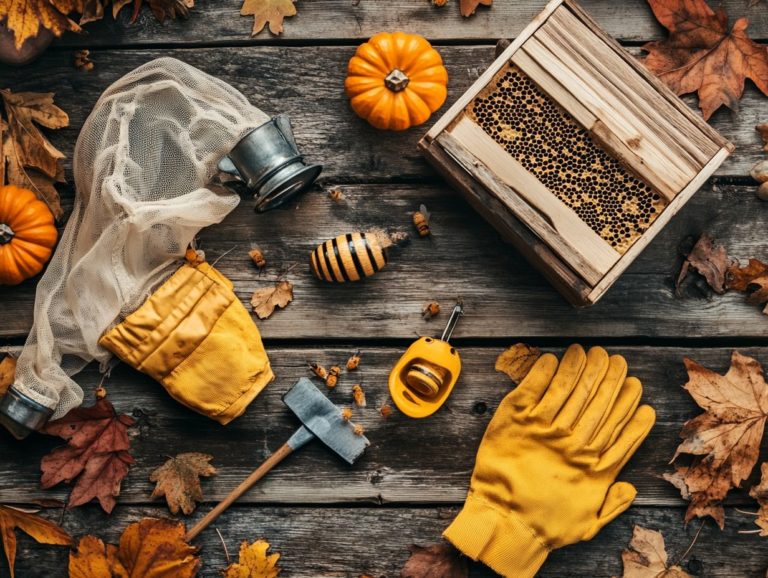
Making your own beekeeping gear not only saves you money but also allows you to customize it according to your unique needs and preferences. Crafting your own equipment enhances sustainability by decreasing your dependence on commercial products.
This guide will walk you through the essential tools and materials you’ll need, offer a step-by-step tutorial for creating your own hive components, and provide tips for maintaining and repairing your equipment, ensuring your bees thrive!
Contents
- Key Takeaways:
- Why Make Your Own Beekeeping Equipment?
- Tools and Materials Needed
- Step-by-Step Guide to Making Beekeeping Equipment
- Tips for Maintaining and Repairing Beekeeping Equipment
- Frequently Asked Questions
- What is beekeeping tools and why is it important?
- What are the benefits of making your own beekeeping tools?
- What are the basic materials needed to make beekeeping tools?
- Can I make all of my beekeeping tools on my own?
- Are there any safety precautions I should take when making my own beekeeping tools?
- Where can I find instructions or plans for making my own beekeeping tools such as a hive body or nesting boxes?
Key Takeaways:
- Making your own beekeeping equipment saves you money in the long run.
- Customized equipment allows for a more efficient beekeeping process.
- By making your own equipment, you can promote sustainability and reduce your environmental impact.
Why Make Your Own Beekeeping Equipment?
Creating your own beekeeping equipment can be a truly rewarding endeavor, enhancing your bee operation while embracing sustainability and saving money. Craft essential items like hive bodies and frames to suit your honey bees’ unique needs.
Mastering woodworking skills sharpens your skills and deepens your appreciation for bee culture. Engaging in educational activities, like those showcased on the Beekeeping Today podcast with experts like Jim Tew and Jeff Ott, can ignite your inspiration for DIY projects, making your beekeeping journey even more fulfilling!
1. Cost Savings
One of the most significant advantages of crafting your own beekeeping equipment lies in the cost savings. This enables you to allocate resources more effectively towards honey production and the overall health of your bees.
By embracing DIY projects, you can significantly reduce expenses, especially when it comes to essential items like frames and hive bodies. These components can be rather expensive when purchased pre-made, but with a touch of woodworking skill and some effort, you can create them using readily available materials.
This hands-on approach deepens your connection to beekeeping and allows you to channel your savings into other vital areas, such as high-quality bee feed or expanding your colonies, ultimately enriching your beekeeping experience.
2. Customization
Customization in beekeeping equipment gives you the power to create hive bodies and frames tailored to the specific needs of your bees, enhancing their overall space and health.
By designing these structures with intention, you can cultivate a more supportive environment for your colonies, potentially boosting their productivity and resilience. The configuration of your hives can profoundly affect bee behavior; for instance, a well-ventilated hive helps maintain optimal temperatures, reducing stress and lowering mortality rates among the bees.
Different hive layouts can also simplify access to honey stores, directly influencing your honey production. These thoughtful considerations pave the way for a thriving operation where bees can truly flourish, ultimately leading to a more bountiful harvest for you!
3. Sustainability
Embracing sustainability in your beekeeping endeavors is essential. By crafting your own equipment from sustainable materials like aromatic red cedar or black walnut, you benefit the environment and enhance the durability of your beekeeping gear.
When you choose responsibly sourced woods, you play a significant role in reducing deforestation and promoting biodiversity. This thoughtful decision contributes to a healthier ecosystem and aligns with wider environmental initiatives.
Opting for insulation materials such as sheep’s wool or cellulose provides excellent thermal control while remaining eco-friendly. These choices help maintain optimal hive temperatures and support surrounding wildlife, ultimately contributing to the overall health of your bees.
In this way, the intersection of sustainable woodworking and insulation choices fosters not only sustainable practices but also a thriving environment for bees and the natural world!
Tools and Materials Needed
To successfully craft beekeeping equipment at home, you will require a carefully curated selection of woodworking tools and materials. This assortment will enable you to execute your DIY projects with both success and ease, whether you’re constructing hive bodies, frames, or other essential components.
1. Wood
Selecting the right wood for your beekeeping projects is essential. Options like aromatic red cedar, black walnut, and sassafras each bring unique advantages that enhance durability and insulation, benefiting the health of your bees.
Take aromatic red cedar, for instance. Its natural repellents work wonders in deterring pests, while its superior ventilation properties are vital for regulating hive temperature. Black walnut, known for its density and wear resistance, ensures that your hive bodies and frames stand strong against the elements over time. Sassafras adds a touch of natural beauty while featuring antimicrobial properties that help maintain a clean hive environment.
By thoughtfully choosing the right wood, you can boost the longevity of your equipment and foster a thriving habitat for your bees, ultimately leading to better honey production and improved overall hive health.
2. Nails and Screws
Reliable nails and screws are crucial components in crafting durable beekeeping equipment. They ensure that your DIY projects are secure and resilient against the demands of an active hive.
Selecting the right types of nails and screws can significantly impact the functionality and longevity of your hives. For instance, galvanized screws are coated to prevent rust, making them perfect for outdoor use in humid conditions, while deck screws deliver a robust hold for wooden structures facing considerable stress.
Framing nails are ideal for swiftly assembling larger components, like hive boxes, enhancing overall stability. Understanding these options allows you to create a sturdier setup that benefits the well-being of your bees and extends the life of your equipment.
3. Saw
A quality saw, especially a table saw, is essential for any woodworking project in beekeeping. It enables you to make precise cuts for hive bodies and frames that are crucial for your bee operation.
When embarking on DIY projects, having the right tools enhances your accuracy and efficiency. Many beekeepers find that miter saws and band saws also play pivotal roles in their workshops.
Miter saws are particularly valuable for making angled cuts, which are vital when assembling frames with precision. Meanwhile, band saws excel at cutting curves and irregular shapes, providing the versatility needed for unique hive designs.
Together, these saws help minimize waste and maximize productivity, allowing you to focus on nurturing a thriving environment for your bees.
4. Hammer
A sturdy hammer is an essential tool in your woodworking toolkit. It is integral for assembling beekeeping equipment by securely driving nails into your hive constructions.
Each type of hammer has its unique function, enhancing your efficiency in building and repairing bee boxes, frames, and other vital components. A claw hammer is perfect for driving nails and removing them when adjustments are needed.
A framing hammer, built with a heavier head and a longer handle, excels at driving large nails into thicker woods, ensuring stable constructions.
Don’t underestimate the value of a rubber mallet; it provides a gentler touch when assembling delicate parts, allowing you to work without causing damage. Each hammer type plays a crucial role in ensuring that your hive will be strong and ready for any challenge!
Gather your tools today and start building your perfect beekeeping setup!
5. Drill
Using a drill in your woodworking projects is essential for creating precise holes and ensuring your beekeeping equipment is assembled correctly and securely. This tool streamlines the assembly process and allows you to achieve the exact measurements needed for various components.
For those venturing into DIY beekeeping, employing drills to fabricate assembly jigs can significantly boost your efficiency and accuracy. These jigs keep hole placement consistent, speed up assembly, and minimize the risk of errors. The ability to customize your equipment ensures that both beginners and seasoned beekeepers can optimize their hives to meet specific needs, ultimately enhancing the effectiveness of their beekeeping endeavors.
Step-by-Step Guide to Making Beekeeping Equipment
This step-by-step guide clearly explains the process of crafting essential items, such as hive boxes and frames, into manageable tasks.
By following this approach, you gain the power to efficiently produce your own gear, enhancing your DIY experience and connection to the art of beekeeping.
1. Hive Boxes
Creating hive boxes is vital in beekeeping. Pay close attention to construction tips to ensure the best health and productivity of your honey bees.
Start by selecting the right materials, typically exterior-grade plywood or cedar, both known for their durability and resistance to the elements. Standard dimensions for hive boxes usually measure 20 inches by 16 inches for deep boxes, providing ample space for your colonies to thrive.
Make sure to keep the right bee space—about 3/8 inch—between frames, allowing your bees the freedom to move without obstruction. Insulating your boxes helps regulate internal temperatures. Lining your boxes with foam boards can protect your bees from extreme weather conditions.
Well-constructed hive boxes support the growth of your colonies and significantly enhance your honey production.
2. Frames
Frames are essential components within your hive boxes. They provide the fundamental support for your bees to construct honeycomb and store honey efficiently.
Typically crafted from sturdy wood or plastic, frames generally measure around 19 inches wide and 22 inches high, though variations exist based on your hive type. When assembling frames, secure the components with robust nails or fasteners to ensure longevity and stability.
Well-designed frames significantly enhance honey production by offering your bees structured spaces for optimal comb-building, which promotes their health. A well-maintained frame facilitates the natural processes of nectar collection and brood raising, leading to a thriving bee population and bountiful honey yields.
3. Inner Cover
An inner cover acts as a crucial layer of insulation and protection for your hive, ensuring your bees enjoy a stable environment throughout changing seasons. Understanding how to craft this component is essential for every beekeeper.
Start by selecting high-quality materials that insulate well. A standard inner cover typically measures 20 inches by 16 inches, though this can vary to suit the size of your hive. When assembling, ensure it fits snugly on top of your hive’s super, leaving a small gap for ventilation.
This design keeps temperatures steady and gives bees enough space to move. By taking these steps, you’ll significantly enhance the health and productivity of your colony.
4. Outer Cover
The outer cover plays a crucial role in protecting your hive from external elements. It ensures your bees are shielded from harsh weather conditions.
Crafted from durable materials like weather-resistant plywood or polycarbonate, this cover typically measures around 24 inches by 20 inches. This size offers ample space for your hive while also providing effective insulation. You’ll often find that assembly techniques involve using screws and waterproof adhesives. This creates a robust structure capable of withstanding wind, rain, and extreme temperatures.
Incorporate venting systems to promote airflow and help prevent moisture buildup that could negatively affect your colony. This thoughtful construction not only safeguards your bees but also enhances their productivity and well-being, allowing them to thrive throughout the seasons.
5. Bottom Board
A bottom board is vital for providing strong support for your hive. It acts as a stable foundation that supports your entire beekeeping setup.
Typically made from sturdy, weather-resistant wood, the bottom board should be around 16 inches by 24 inches. This size accommodates the hive’s frames while ensuring proper airflow. This design helps keep air flowing, which is important for your bees’ comfort and protects them from overheating or excess moisture.
Incorporate a screened bottom to improve air circulation and keep unwanted pests at bay. This ultimately boosts the overall health of your colony. A well-crafted bottom board not only supports your hive but also plays a vital role in fostering a thriving ecosystem within it.
Tips for Maintaining and Repairing Beekeeping Equipment
Maintaining and repairing your beekeeping equipment is essential for safeguarding the long-term health of your hives. By doing so, you prevent potential issues and protect your honey production from unforeseen setbacks.
1. Regular Cleaning
Regular cleaning of your beekeeping equipment is crucial for preventing the buildup of bacteria and pests. These can jeopardize your bee operation.
Maintaining hygiene protects the health of your bees and enhances the quality of the honey you produce. A clean environment boosts hive productivity, reduces the risk of disease outbreaks, and extends the lifespan of your equipment.
Adopt a systematic approach to cleaning. Start by inspecting and disassembling your hive boxes and frames. Carefully remove any residue or wax buildup. Then, scrub each component with a mild soap solution and rinse thoroughly.
After everything dries completely, consider applying a food-safe disinfectant to eliminate any lingering pathogens. Regular inspections and cleaning routines are key for a thriving beekeeping practice.
2. Proper Storage
Proper storage of your beekeeping equipment during the off-season is vital for preserving its integrity and functionality. This preparation ensures your tools and gear are ready for the upcoming honey production cycle.
Clean and dry each item thoroughly, removing any residues or pests that could compromise their longevity. Store your equipment in a cool, dry place, away from direct sunlight and moisture. These elements can diminish their durability.
As spring approaches and it’s time to retrieve your equipment, create a checklist and inspect each item for wear and tear. This helps you identify any necessary repairs or replacements before diving back into the work of beekeeping.
3. Repairing Small Damages
Repairing small damages to your beekeeping tools promptly is essential for maintaining their effectiveness and extending their lifespan, all while ensuring a healthy environment for your bees.
Common issues, such as worn-out wooden components, cracked frames, and rusty tools, can significantly hinder the performance of this crucial equipment. For instance, even a minor crack in a hive can lead to leaks or pest invasions.
Rusty tools can impede your ability to manage hives efficiently. By regularly inspecting for signs of wear and tear, such as splinters or loose joints, you can make necessary repairs before they escalate into larger problems.
Simple solutions might include applying wood glue to fractures, sanding down rough surfaces, or using rust removers on your tools. Your dedication will make a huge difference to the health of your bees!
Frequently Asked Questions
What is beekeeping tools and why is it important?
Beekeeping tools include supplies necessary for beekeepers to manage their hives and harvest honey. They are important because they help maintain healthy and productive bees while safely collecting honey.
What are the benefits of making your own beekeeping tools?
Making your own beekeeping tools can save you money, allow for customization to fit your specific needs, and give you a sense of pride and accomplishment in your beekeeping journey.
What are the basic materials needed to make beekeeping tools?
The basic materials needed include wood, metal hardware, mesh, fabric, and simple tools such as a hammer and saw. You can also repurpose items like old boxes or pallets for some tools.
Can I make all of my beekeeping tools on my own?
While you can make most of your beekeeping tools, some specialized equipment such as extractors may require more expertise and specialized tools. Extractors are machines that help you extract honey from the comb without damaging it and may be more cost-effective to purchase from a reputable supplier.
Are there any safety precautions I should take when making my own beekeeping tools?
Yes, always wear appropriate safety gear such as gloves and goggles when working with tools and materials. Be cautious when handling sharp tools, using them according to their intended purpose.
Where can I find instructions or plans for making my own beekeeping tools such as a hive body or nesting boxes?
There are many resources available online for free or for purchase that provide step-by-step instructions for making various beekeeping tools. You can also join a local beekeeping club or attend workshops for hands-on guidance and tips.
Now is the perfect time to dive into creating your own beekeeping tools!

